


本文介绍tkinter的button控件。通常按钮的作用就是用来点击,然后完成相应的动作。那么怎样表示按钮的作用以及对应的动作呢?本文将详细介绍。
文章目录
按钮(button)
在tkinter中,button的定义如下:
Button(master=None, cnf={}, **kw)
按钮的属性
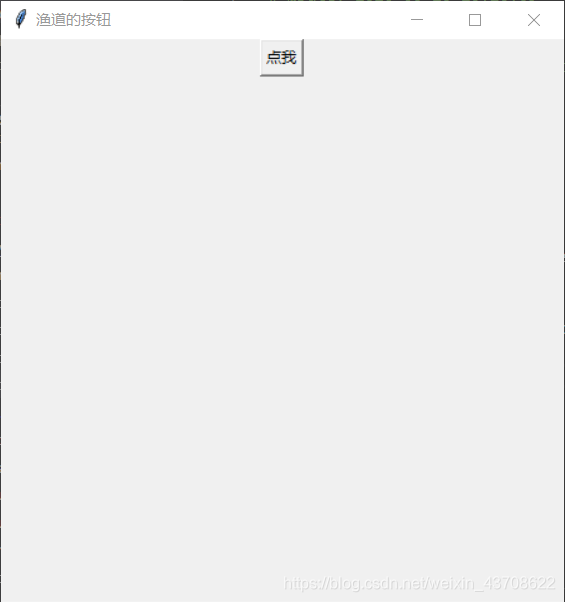
text
指定按钮上的文字
from tkinter import Tk,Button
main_win = Tk()
main_win.title('渔道的按钮')
width = 450
height = 450
main_win.geometry(f'{width}x{height}')
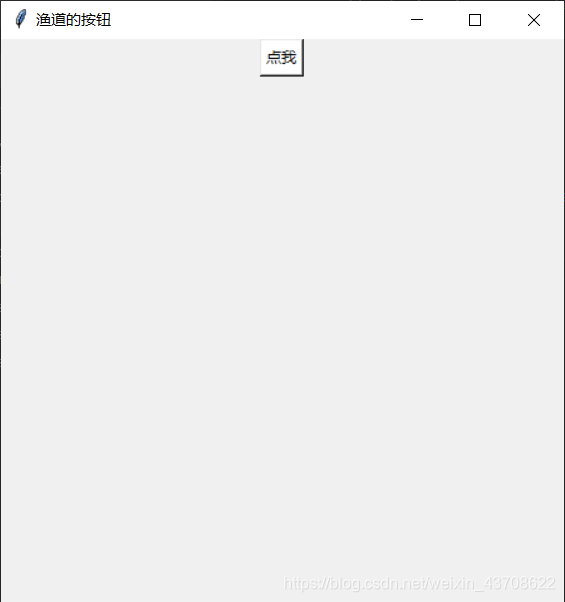
text = "点我"
Button(main_win, text=text).pack()
main_win.mainloop()
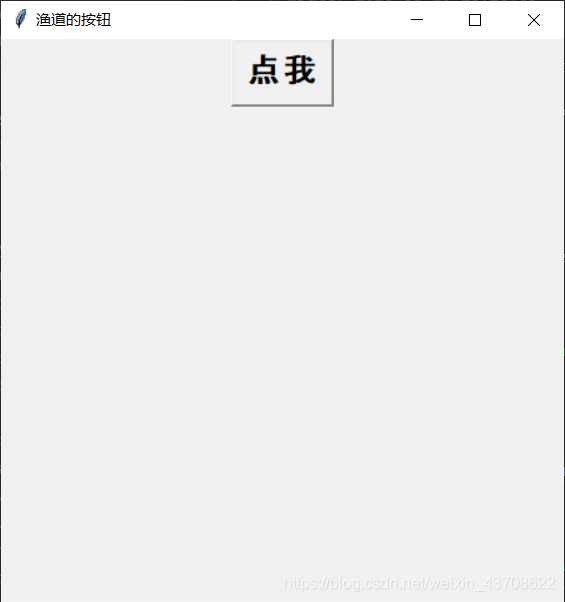
font
指定按钮上文字的字体
text = "点我"
font=("Courier", 20, "bold")
Button(main_win, text=text, font=font).pack()
width
指定按钮的宽度。如果按钮上显示的是文字,则以字符个数为宽度单位;如果按钮上显示的是图片,则以像素为宽度单位
height
指定按钮的高度。如果按钮上显示的是文字,则以字符个数为高度单位;如果按钮上显示的是图片,则以像素为高度单位
text = "点我"
Button(main_win, text=text, width=20, height=10).pack()
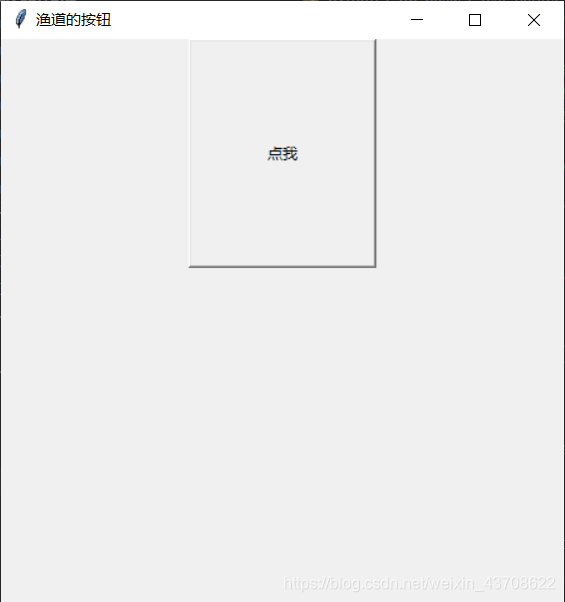
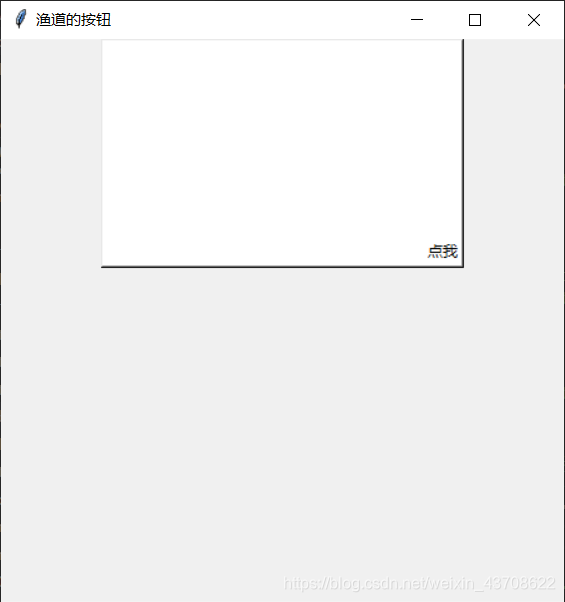
anchor
锚点,用来指定文本或图像在label显示区的显示位置。默认值是"center",可设置的值为’n’, ‘ne’, ‘e’, ‘se’, ‘s’, ‘sw’, ‘w’, ‘nw’; ‘e’、‘w’、‘s’、'n’分别表示东西南北。
# 这里我们将按钮的宽和高设置为40和10,anchor为'se'
# 最终的显示效果是 '点我'在按钮的东南方,也就是右下角;
Button(main_win, anchor='se', width=40, height=10, bg='white', text='点我').pack()
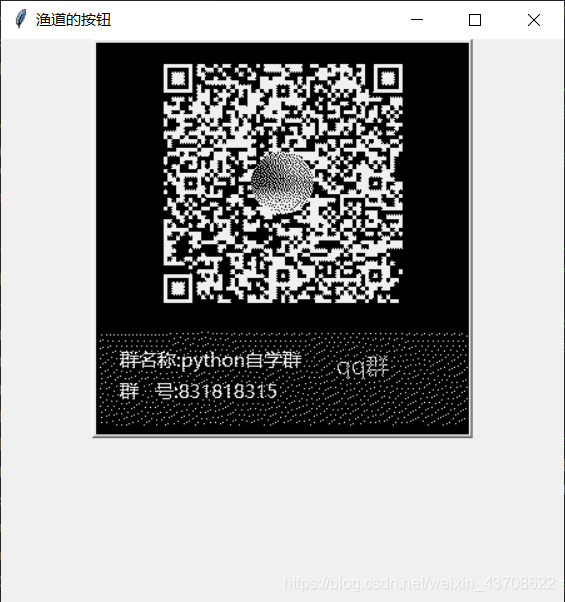
image
指定在按钮上显示的图片
png = PhotoImage(file='qq.png')
Button(main_win, image=png).pack()
注意,生成的是一个带图片的按钮。

如果,text和image属性都指定了,将会显示什么呢?按钮将会仅显示图片。
png = PhotoImage(file='qq.png')
text = 'hello'
Button(main_win, image=png, text=text, fg='red').pack()
compound
使按钮中 文字和图片都可以显示. text和image的位置是相对于image的.例如,compound为bottom,就是text在上,image在下.
main_win.geometry(f'{800}x{800}')
png = PhotoImage(file='button.png')
text = '渔道的按钮'
fg='blue'
Button(main_win, compound='bottom', image=png, text=text, fg=fg).pack()
Button(main_win, compound='top', image=png, text=text, fg=fg).pack()
Button(main_win, compound='center', image=png, text=text, fg=fg).pack()
Button(main_win, compound='left', image=png, text=text, fg=fg).pack()
Button(main_win, compound='right', image=png, text=text, fg=fg).pack()

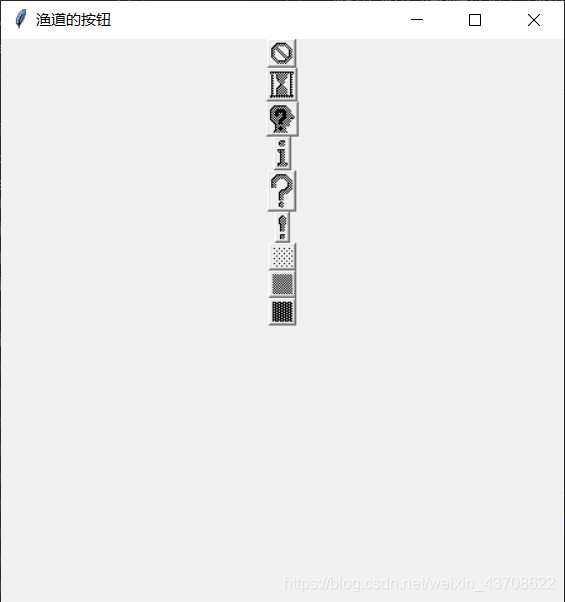
bitmap
bitmap属性也是用来显示图片。但是有点儿特殊,它是用来显示位图。它有两种显示来源。一种是tkinter内置的位图;一种是用户指定图片。
# 显示tkinter内置的位图
bitmap_list = ['error', 'hourglass', 'questhead', 'info',
                'question', 'warning', 'gray12', 'gray50',
                'gray75']
for bitmap in bitmap_list:
    Button(main_win, bitmap=bitmap).pack()
bitmap属性的值是字符串,字符串值只有两种,一种就是前面使用的内置位图的字符串,另一种是使用 @+xbm后缀的文件名。
重点:仅支持xbm格式且xbm的路径要使用@开头
from PIL import Image
xbm = 'qq.xbm'
# 将qq.png转换位单通道的qq.xbm图片
Image.open('qq.png').convert("1").save(xbm)
Button(main_win, bitmap='@'+xbm).pack()
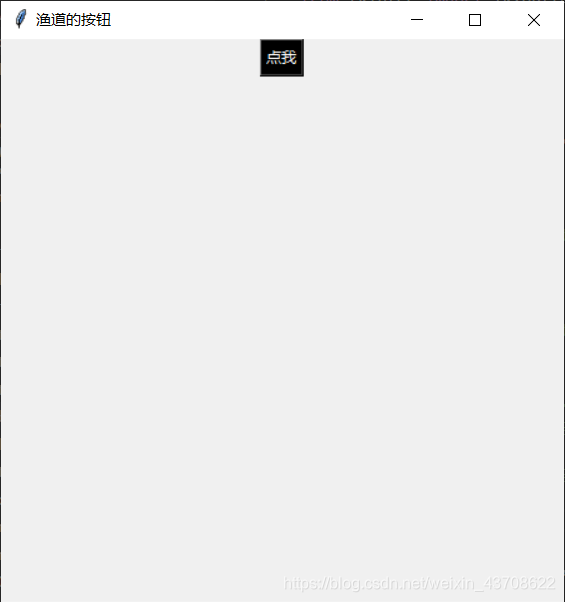
backgroud\bg
指定按钮背景颜色
foreground\fg
指定按钮前景颜色,即文字的颜色
text = "点我"
Button(main_win, fg='white', bg='black', text=text).pack()
cursor
指定鼠标在按钮上时的显示样式,样式的值是’arrow’, ‘watch’, ‘cross’
Button(main_win, cursor="cross", width=40, height=10, text='点我', anchor='ne').pack()
由于不能将鼠标截图,这里就不展示了,可自行运行程序观察。
borderwidth\bd
指定按钮边框宽度
padx
指定水平方向上按钮内容和边框的间距
pady
指定垂直方向上按钮内容和边框的间距
main_win.geometry(f'{800}x{800}')
fg = 'white'
bg = 'black'
text = '点我'
w = 20
h = 10
Button(main_win, text=text, fg=fg, background=bg).pack()
Button(main_win, text=text, fg=fg, background=bg,
                width=w, height=h).pack()
# borderwidth
Button(main_win, text=text, fg=fg, background=bg,
                width=w, height=h, borderwidth=10).pack()
# padx pady
Button(main_win, text=text, fg=fg, background=bg,
                width=w, height=h, borderwidth=10,
                padx = 10, pady = 10).pack()

main_win.mainloop()
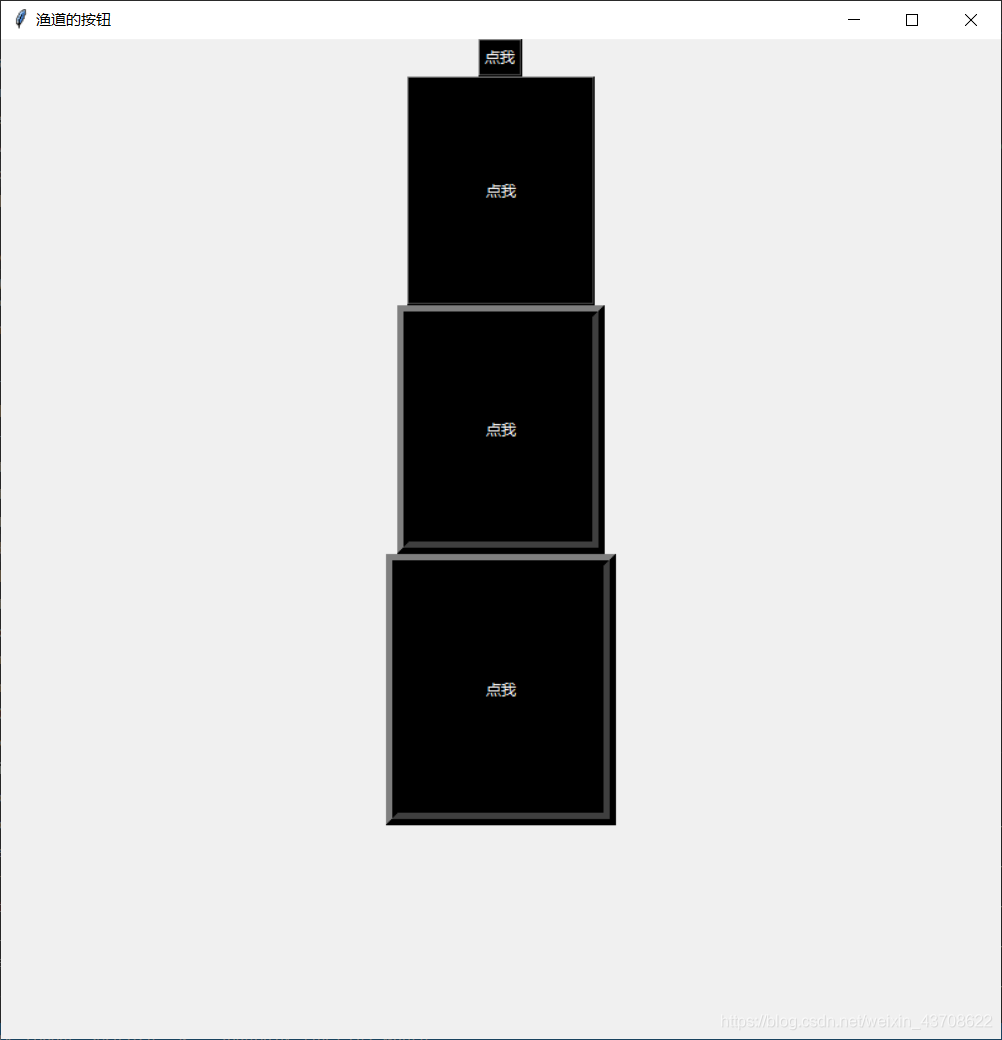
上面例子的显示结果可以看出,如果设置bd、padx、pady,按钮会相应变大.
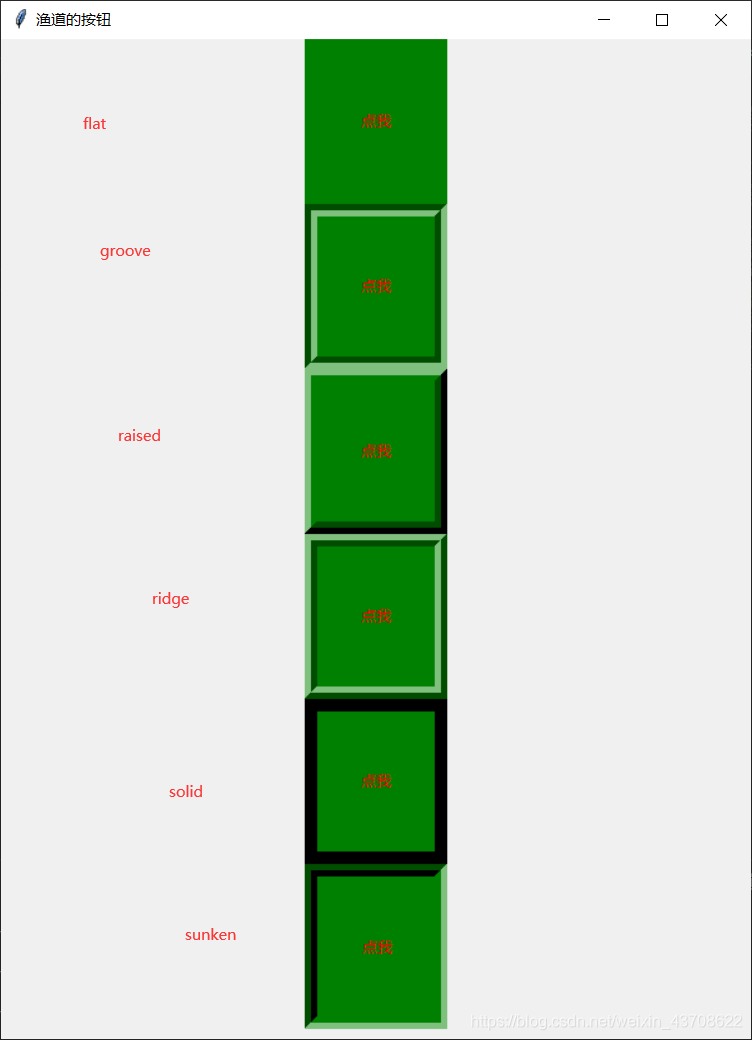
relief
指定边框样式,默认样式为’flat’,样式的种类有:‘flat’, ‘groove’, ‘raised’, ‘ridge’, ‘solid’, ‘sunken’
如果bd的宽度变大,relief显示的边框也会跟着变大。
main_win.geometry(f'{600}x{800}')
relief_list = ['flat', 'groove', 'raised', 'ridge', 'solid', 'sunken']

for relief in relief_list:
    Button(main_win, text="点我", fg='red', background="green",
                width = 10, height=5, borderwidth=10,
                padx=10, pady=10, relief=relief).pack()
overrelief
当鼠标飘过按钮时,按钮的边框的显示样式
text='点我'
Button(main_win, text=text, bg='red', bd=5, width=10, height=10, overrelief='groove').pack()
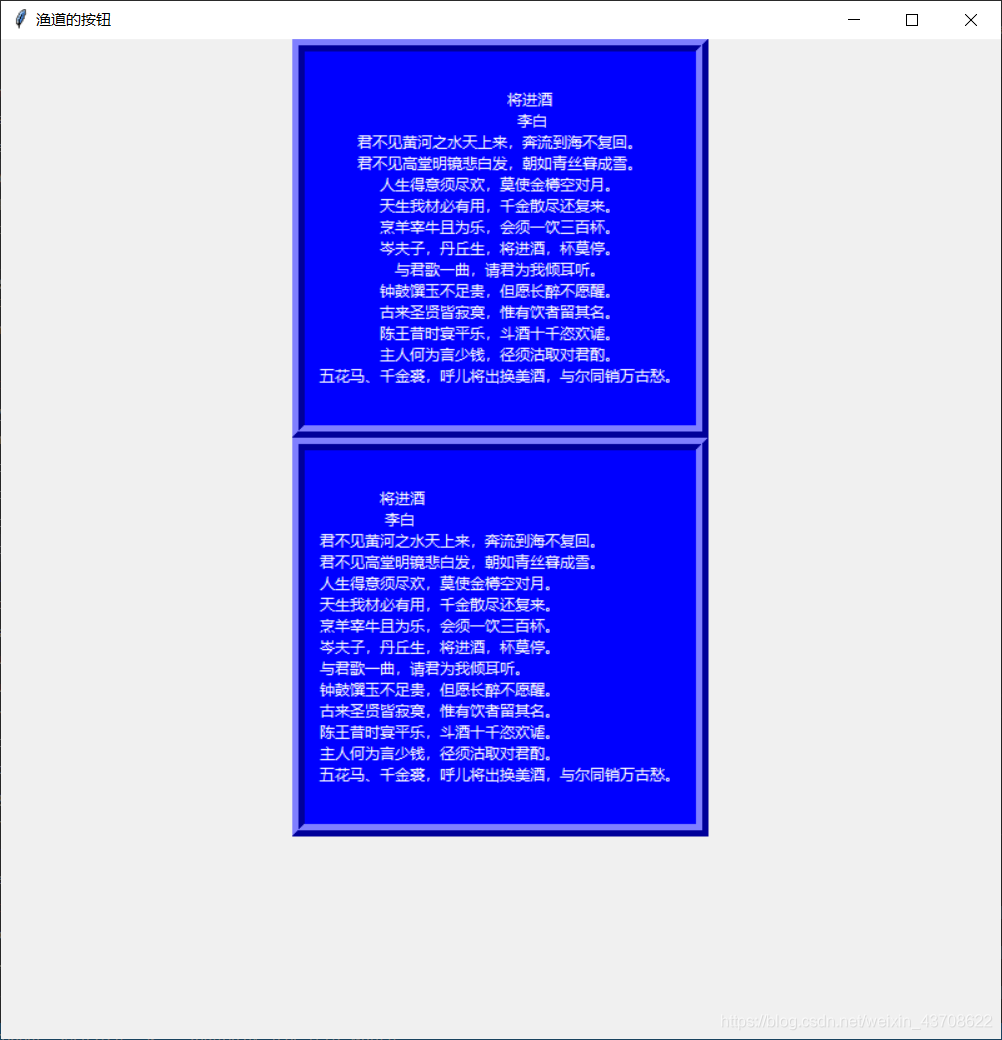
justify
定义按钮中文字的对齐方式,"left"左对齐,"center"居中,"right"右对齐
poem = '''
            将进酒
             李白
君不见黄河之水天上来,奔流到海不复回。
君不见高堂明镜悲白发,朝如青丝暮成雪。
人生得意须尽欢,莫使金樽空对月。
天生我材必有用,千金散尽还复来。
烹羊宰牛且为乐,会须一饮三百杯。
岑夫子,丹丘生,将进酒,杯莫停。
与君歌一曲,请君为我倾耳听。
钟鼓馔玉不足贵,但愿长醉不愿醒。
古来圣贤皆寂寞,惟有饮者留其名。
陈王昔时宴平乐,斗酒十千恣欢谑。
主人何为言少钱,径须沽取对君酌。
五花马、千金裘,呼儿将出换美酒,与尔同销万古愁。
'''
main_win.geometry(f'{800}x{800}')
Button(main_win, text=poem, fg='white', justify="center", background="blue",
            borderwidth=10,
            padx=10, pady=10, relief='ridge').pack()

Button(main_win, text=poem, fg='white', justify="left", background="blue",
            borderwidth=10,
            padx=10, pady=10, relief='ridge').pack()
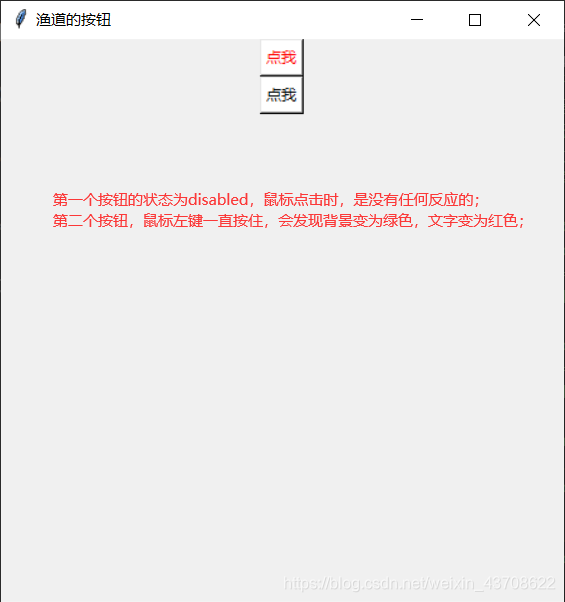
state
指定button的状态,normal(默认)/active/disable
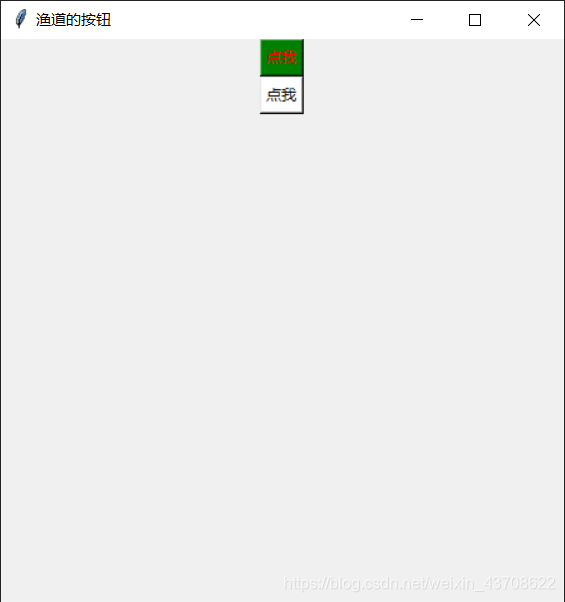
activebackground
指定button为active状态时的背景颜色
activeforeground
指定button为active状态时的前景颜色
Button(main_win, text='点我', bg='white', state='active',
            activeforeground='red', activebackground='green').pack()

Button(main_win, text='点我', bg='white', state='normal',
            activeforeground='red', activebackground='green').pack()
disabledforeground
当button的状态为DISABLE时,文字的显示颜色
Button(main_win, text='点我', bg='white', state='disable',
            disabledforeground='red', activebackground='green').pack()

Button(main_win, text='点我', bg='white', state='normal',
            activeforeground='red', activebackground='green').pack()
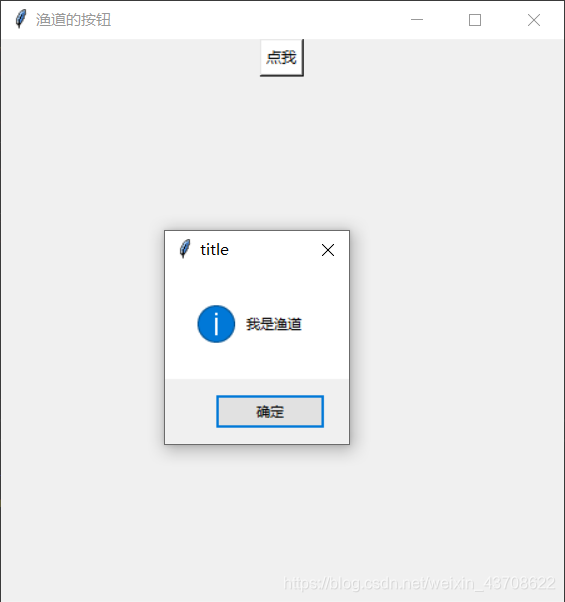
command
指定按钮被点击时调用的函数。按钮非常重要的属性,提升人机交互体验。
def click_cb():
    messagebox.showinfo("title", "我是渔道")
Button(main_win, command=click_cb, text='点我', bg='white').pack()
鼠标点击 "点我"按钮后,会弹出一个对话框,如下图所示:
textvariable
显示 StringVar变量的内容,作用是可以动态的更新label显示的内容。
def click_cb(text_var):
    text_var.set("好坏哦")

text_var = StringVar()
text_var.set("点我")

Button(main_win, command=lambda : click_cb(text_var), bg='white', textvariable=text_var).pack()
当点击"点我"按钮后,按钮上的文字变成了"好坏哦"。可运行程序感受一下简单的动态交互效果.

repeatdelay
重复延迟
表示点击按钮后,延迟repeatdelay(ms),做出相应动作.
def click_cb():
    print("xxx")

text_var = StringVar()
text_var.set("点我")

# 点击按钮,即刻执行click_cb()
# Button(main_win, command=click_cb, bg='white', textvariable=text_var).pack()
Button(main_win, repeatdelay=1000, command=click_cb, bg='white', textvariable=text_var).pack()
# 点击按钮,延迟1秒 执行click_cb()
repeatinterval
重复间隔
repeatinterval需要和repeatdelay一起使用才能凑效.作用就是长按按钮时,间隔repeatinterval(ms),执行相应动作.
def click_cb():
    print("xxx")

text_var = StringVar()
text_var.set("点我")

# 长按按钮,间隔300ms,执行一次click_cb()
Button(main_win, repeatdelay=1000, repeatinterval=300, command=click_cb, bg='white', textvariable=text_var).pack()
button的属性就先介绍到这里,如果以后有新的发现,继续追加!


 588
588


 被折叠的 条评论
为什么被折叠?
被折叠的 条评论
为什么被折叠?
 到【灌水乐园】发言


